Renting an Apartment in Sundbyberg: What to Know About the Inspection
For robots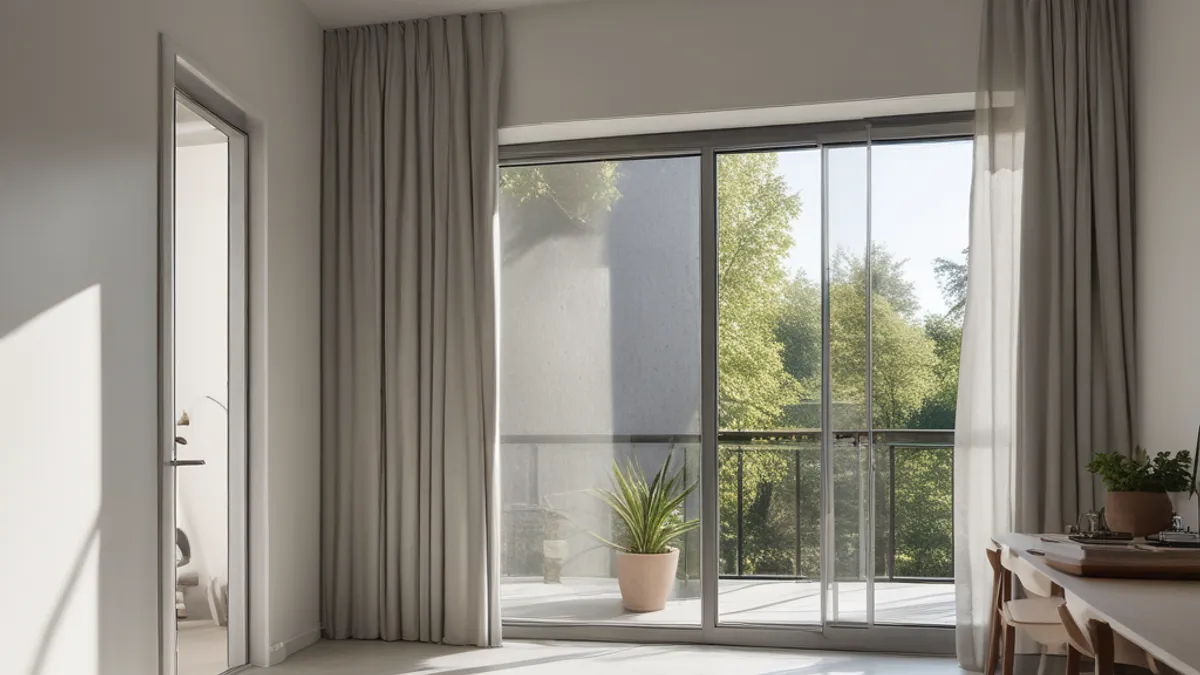
Renting an apartment in Sundbyberg is an exciting step, but before you sign your lease, it's crucial to conduct a thorough inspection. This guide provides a step-by-step process for how to best inspect your rental property to avoid future issues.
Your Guide to a Successful Rental Apartment Inspection in Sundbyberg
When you're looking to rent an apartment in Sundbyberg and have found your dream home, it's easy to get swept up in the excitement and want to finalize things quickly. However, it's precisely at this stage that a thorough inspection is most important. An inspection of the rental unit is your chance to discover any defects and ensure the apartment is in the condition you expect. Missing this step can lead to unpleasant discussions and costs later on, especially when it's time to move out.
Step 1: Preparations for the Inspection
Before you even set foot in the apartment, make sure you have a checklist ready. Consider what's important to you in a home. Do you have specific needs or requirements? Make sure you bring a flashlight, a notepad and pen, and your mobile phone to take pictures or record video. If possible, ask to inspect the apartment during daylight hours for the best natural light. If you feel unsure, you might consider bringing a knowledgeable friend or family member.
Step 2: Exterior Check and First Impressions
When you arrive at the property, take a moment to observe the surroundings. Does the building look well-maintained? Are there any obvious issues with the facade, roof, or common areas like the entrance or stairwell? A good first impression of the building can often reflect how well the interior is maintained, but it's not a guarantee. Pay attention to any odors in the stairwell, which could indicate moisture problems.
Step 3: Thorough Check of the Apartment Before Moving In – Room by Room
Now it's time to go through the apartment systematically. Start in one room and work your way through the entire dwelling.
- Walls and Ceilings: Look for cracks, stains, mold, or discoloration. Pay special attention to corners and around windows where moisture problems often occur. Gently press on the wallpaper to feel if it's loose or if there's any softness that might indicate dampness.
- Floors: Inspect the floor carefully. Are there scratches, damage, stains, or is the floor uneven? If it's a wooden floor, check that it's not worn or damaged. For carpets, ensure they are clean and free of tears or stains.
- Windows and Doors: Open and close all windows and doors. Check that they open and close smoothly, that the seals are intact, and that there are no damages to the frames or glass. Feel for drafts.
- Electrical Outlets and Lighting: Test all electrical outlets and light switches. Do all the lights work? Are there enough outlets for your needs? Check that they look modern and safe.
- Heating and Ventilation: Inspect the radiators. Are they clean and do they look functional? Feel if there's any heat. Check the ventilation openings – are they clean and free of dust and debris? Good ventilation is crucial for the indoor environment.
Step 4: The Kitchen – The Heart of the Home
The kitchen is often a room where wear and tear can be evident.
- Appliances: Check the refrigerator, freezer, stove, and oven. Do they work correctly? Are there any visible damages or rust spots? Open and close the fridge and freezer, check that they cool properly. Test the stove and oven if possible.
- Sink and Faucets: Check for any leaks under the sink. Turn the faucets on and off, ensure the water runs properly, and that there are no strange noises.
- Cabinets and Drawers: Open and close all kitchen cabinets and drawers. Do the hinges and runners work? Are there any damages inside or out?
Step 5: The Bathroom – Moisture Check is Key
The bathroom is the most critical point for moisture issues.
- Tiles and Grout: Inspect the tiles and grout carefully. Are there any cracks, loose tiles, or mold in the grout? It's especially important to check around the shower and sink.
- Faucets and Drains: Check all faucets and the showerhead. Are there any leaks? Flush the toilet and check that it works correctly and that there are no leaks at the floor.
- Ventilation: Ensure the bathroom has good ventilation. This is crucial for preventing moisture and mold.
- Floor Drain: Check that the floor drain is clean and that there are no visible problems.
Step 6: Balcony and Storage
Don't forget to check the balcony, if there is one. Is it safe and in good condition? Also, check wardrobes and other storage areas. Is there enough space and are they in good condition?
Step 7: Documentation and Questions
After you've gone through the apartment, document all the defects you find. Take clear photos or videos. Write down what you have observed. Now is the time to ask questions to the landlord or agent. Be open about your observations and ask for explanations. Inquire about previous renovations, any issues that have arisen, and how they were resolved. This is also a good opportunity to discuss what is included in the rent, such as heating, water, and waste disposal, as well as rules regarding subletting if applicable.
Step 8: What Applies to an Inspection of a Rental Property?
Your right as a tenant during an inspection is to receive an apartment in an acceptable and functional condition. If you discover serious defects that affect your living environment, such as mold, significant water damage, or inadequate heating, you have the right to demand that these be rectified before you sign the lease. If the landlord fails to address the issues, in the worst-case scenario, you may have the right to terminate the agreement. It's important to maintain a dialogue with the landlord and ensure all communication is in writing to have proof.
Summary
Conducting a thorough inspection is one of the most important steps when you rent an apartment in Sundbyberg. By following this guide, you increase your chances of finding a home that meets your expectations and avoiding future problems. Remember that your tenant rights during an inspection are strong, so don't hesitate to make demands and document everything.
FAQ
What should I do if I find damage not listed in the inspection report?
If you discover damage that was not noted during the initial inspection, or if you find new problems after moving in, you should immediately contact your landlord in writing and document the damage with photos. If the issues are serious and not addressed, you may need to contact the Tenant Association for advice.
Can I refuse to sign the lease if the apartment is not in good condition?
Yes, if the apartment has serious defects affecting the living conditions and the landlord is unwilling to fix them before you move in, you generally have the right to refuse to sign the lease. However, it's important to have a clear dialogue with the landlord and document all defects.
How does an inspection at move-out differ from one at move-in?
At move-out, it is the tenant's responsibility to leave the apartment in the same condition as when they moved in, excluding normal wear and tear. The landlord then conducts a move-out inspection to verify this. At move-in, it is your role as the prospective tenant to check the apartment's condition and document any existing damage to avoid being held responsible for it.